Your Complete Guide to G-Accon

G-Accon Help Center

Explore step-by-step guides, troubleshooting tips, and best practices to make the most of G-Accon. Whether you're setting up integrations, automating reports, or optimizing workflows, our help center has everything you need to succeed.
Wiki Menu

Aged Receivables Detail By Location

Export Aged Receivables Detail By Location Report into Google Sheets

SECTIONS IN THIS ARTICLE

โœ… Design Template
โœ… Schedule Automatic Refresh
โœ… Modify Template
โœ… YouTube Videos


Generating Aged Receivables Detail By Location Report:

  • Go to the menu and select "Extensions"
  • Choose "G-Accon for QuickBooks".
  • Click on "Get Accounting Data/Reports"
  • Select "Custom Accounting Reports"
  • Choose "Aged Receivables Detail By Location" report from dropdown box.
Export Aged Receivables Detail By Location into Google Sheets

How to design a template for the report?

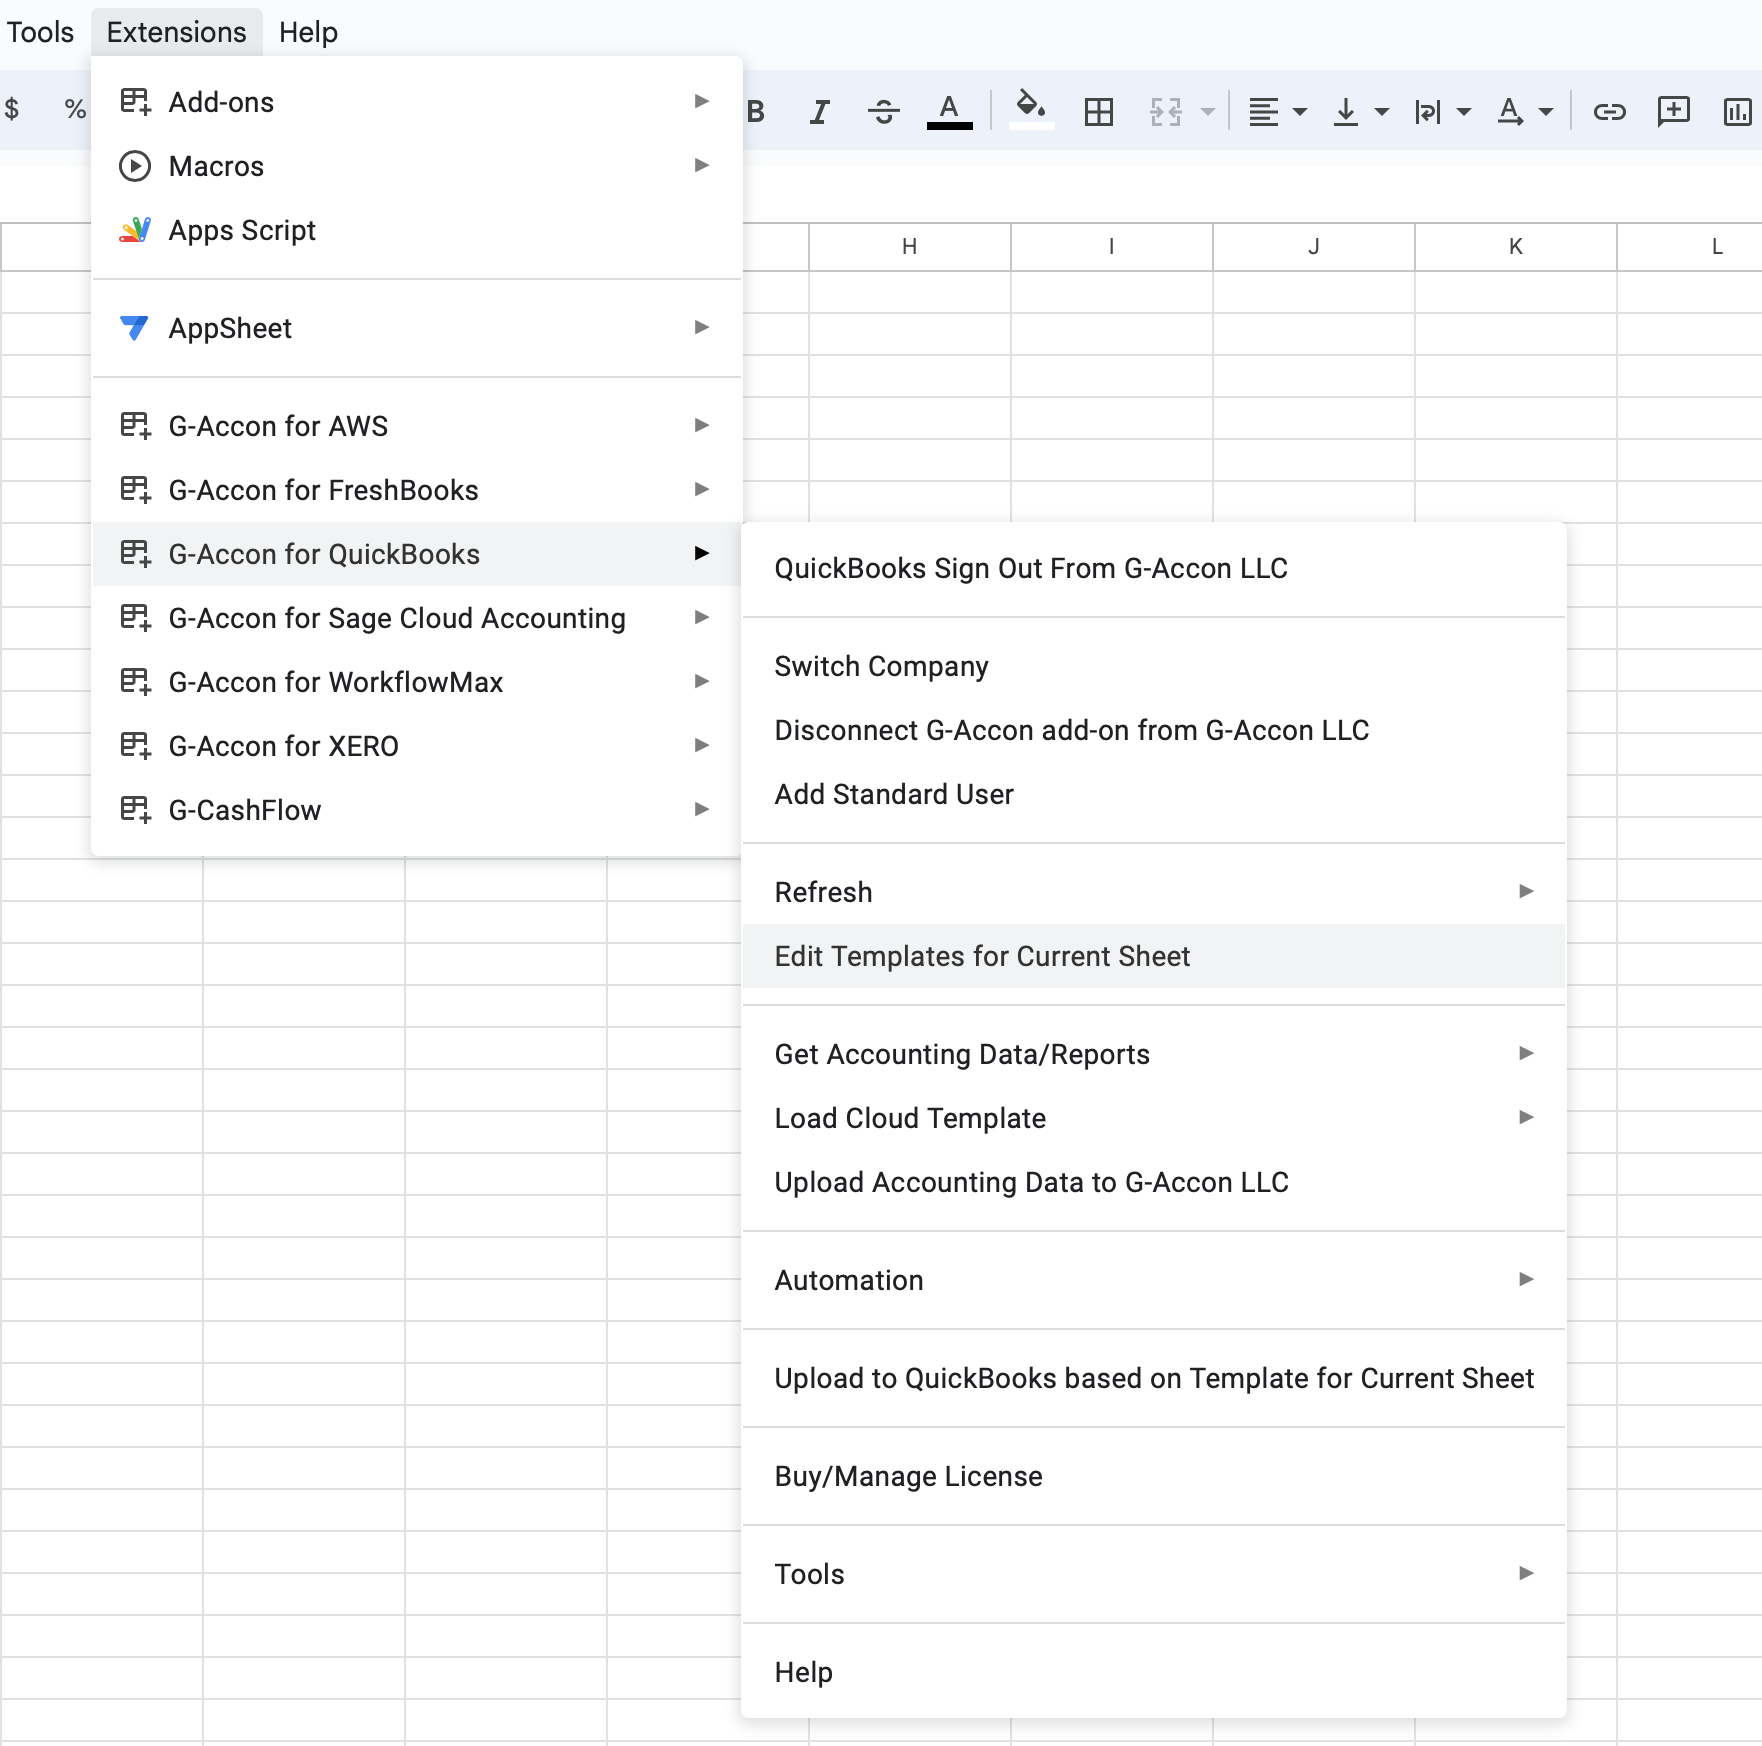
Select the Aged Receivables Detail By Location option from the drop-down menu in Custom Accounting Reports.

SELECT PARAMETERS

There are required and optional attributes for the Aged Receivables Detail By Location report.

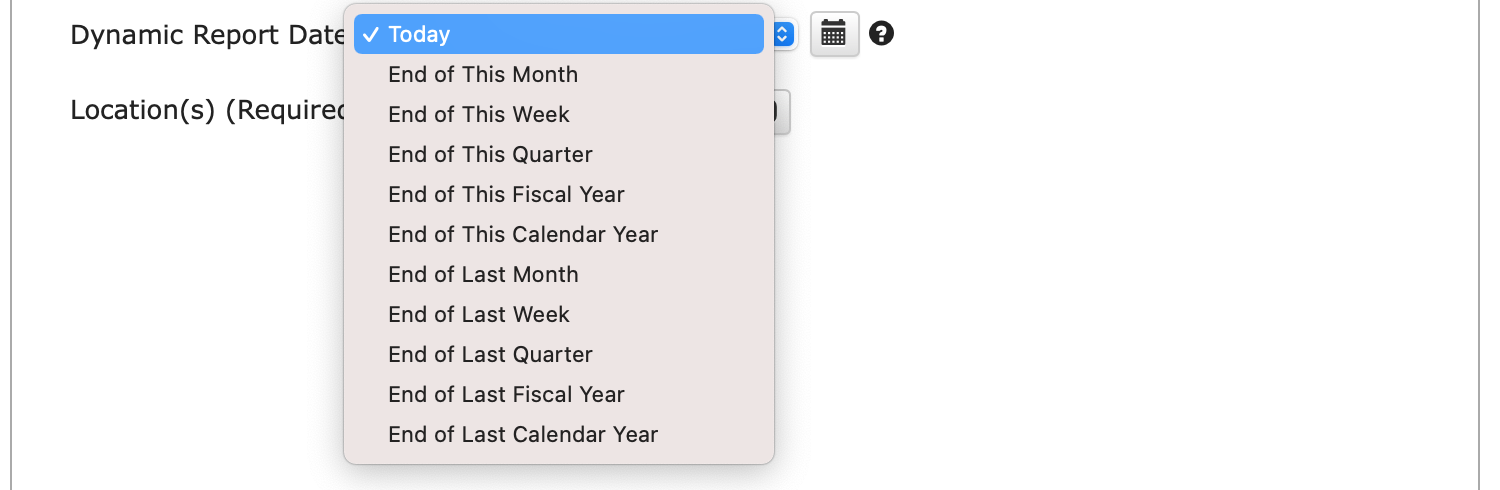
Dynamic Date Range: The report data will be calculated based on pre-populated values like This Month, This Quarter, This Year, Last Month, etc.

Static Date Range: Define specific start and end dates.

Custom Date Range: Utilize cell references in your Google Sheet to set custom dates.

REQUIRED ATTRIBUTES

Compare To โ€” select the basis for period comparison.

Periods Of ### months โ€” specify the number of months per period.

Compare with previous ### periods โ€” set the number of prior periods to include as comparison columns.

Ageing By (Due Date/Invoice Date) โ€” choose whether to age the report by Due Date or Invoice Date.

Columns Titles โ€” select the column titles to include in the report output.

Term (s) โ€” define the payment terms associated with your report.

Customer (s) โ€” specify the customer or customers relevant to the report.

CHANGE PULL SETTINGS / PREVIEW

Customize report behavior and control how data is presented in your Google Sheet. All settings are optional and can be combined to suit your reporting workflow:

  • Create a New Google Sheet โ€” generate the report in a new tab or worksheet
  • Display Report Title โ€” include and display the report title within the spreadsheet
  • Retrieve Headers โ€” include and display column titles for your data
  • Display Only Account Codes โ€” display only account codes instead of full account
  • Freeze Data Table Header โ€” lock the header row or column to keep it visible while scrolling through the data
  • Create a Data Table Around Pulled Data โ€” organize your data into a structured table format
  • Keep Original Formatting โ€” preserve the original formatting of the data
  • Remove Empty Dividing Rows โ€” eliminate any empty rows that separate your data
  • Exclude from Auto Refresh (Discontinuing) โ€” prevent the spreadsheet from auto-refreshing, though note that this functionality may be outdated
  • Hide Grid Lines โ€” conceal grid lines for a cleaner look
  • Show Negatives in Red โ€” display negative values in red
  • Show Only Whole Numbers โ€” display only whole numbers in the report
  • Only Data Rows โ€” filter and display only the rows containing actual data
  • Only Report Summaries โ€” show only the summary or aggregated data rows
  • Create Deep Links to QuickBooks โ€” generate links for accessing specific items in QuickBooks
  • Highlight Every Other Row โ€” apply a formatting style to alternate rows to improve readability
  • Add Last Updated Timestamp to Title โ€” include a "Last Updated" field with the most recent refresh date and time
  • Display Fully Qualified Names โ€” present full names or labels for the data
  • Append to the Previous Template โ€” add the new data or changes to an existing template
  • Add Company Name Column โ€” introduce a column to include the company name
  • Use White Label โ€” add your company logo and customize branding

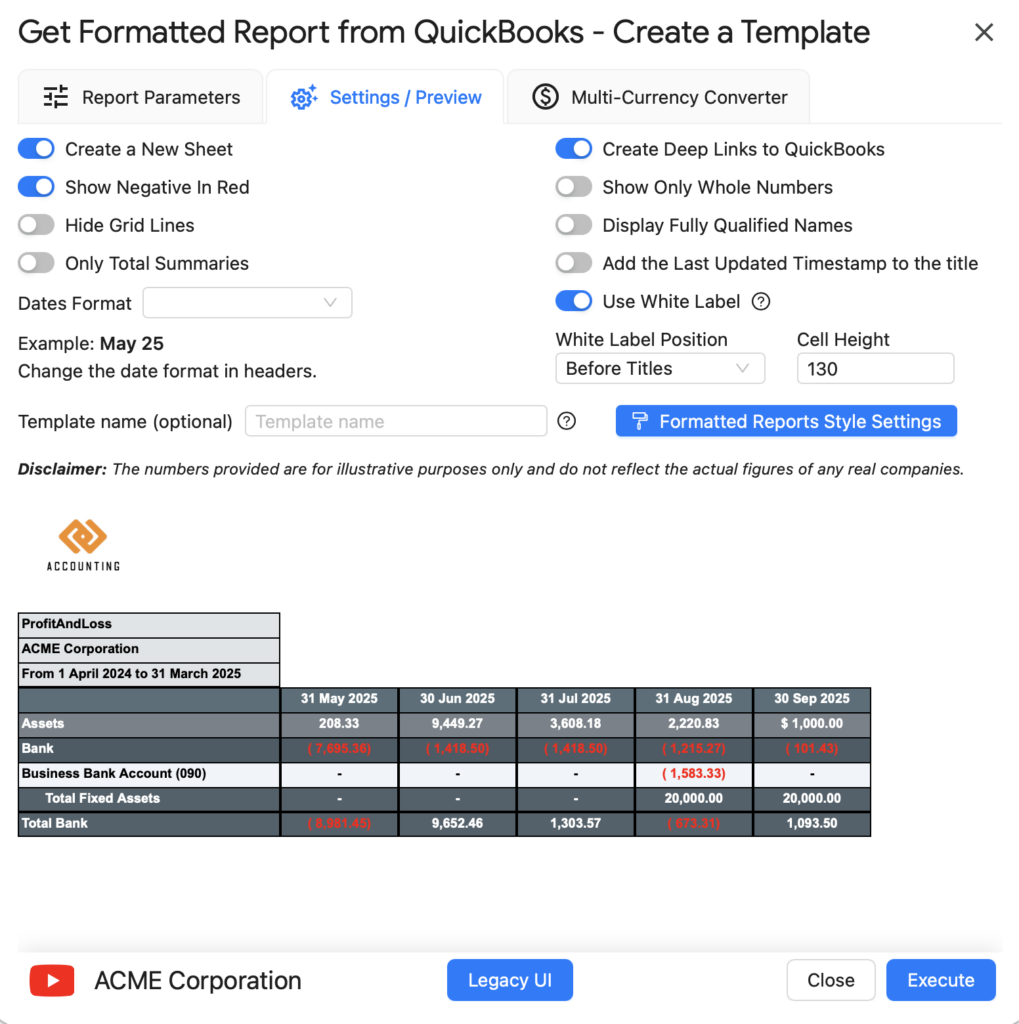
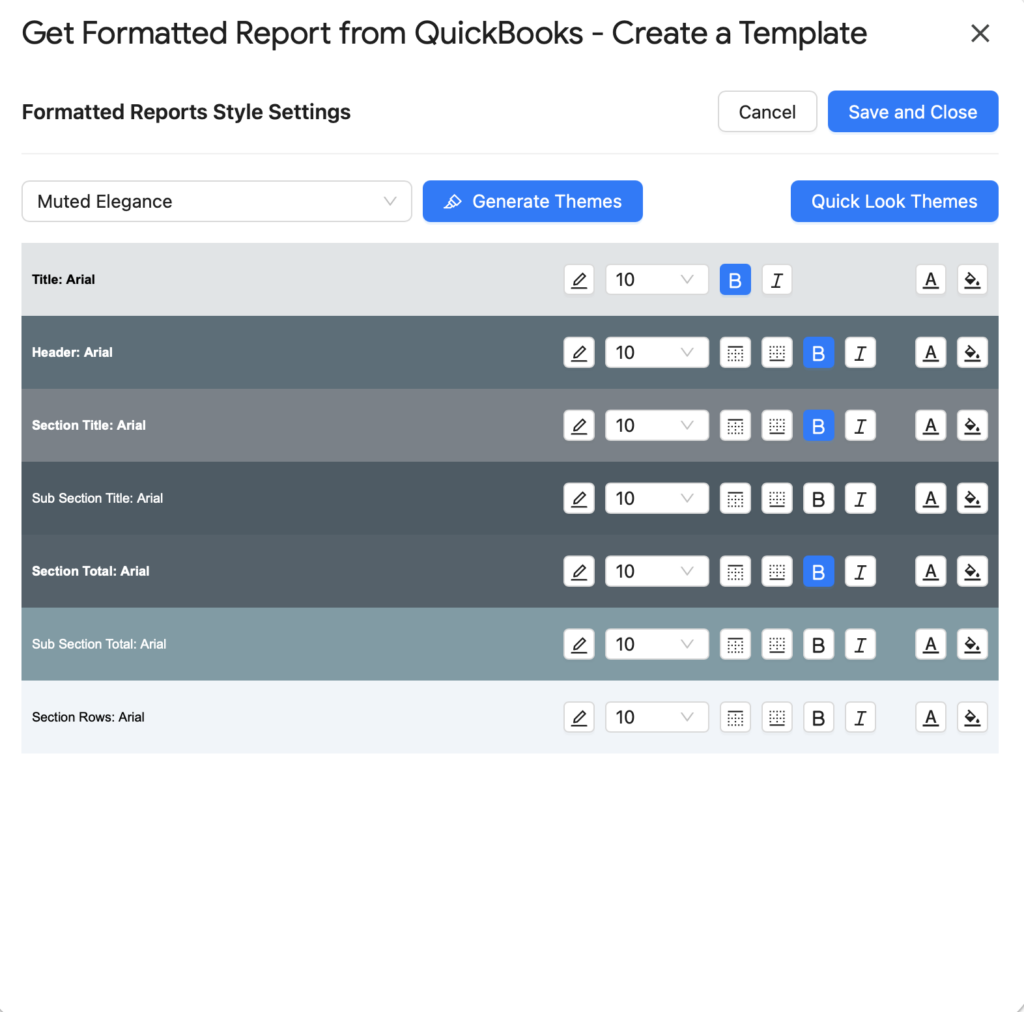
Formatted Report Style Settings allow you to tailor the visual presentation of your report, ensuring it aligns with your company's branding and reporting standards.

MULTI-CURRENCY CONVERTER

If you need to generate your Aged Receivables Detail By Location report in a currency other than your QuickBooks base currency, the Multi-Currency Converter tab lets you select a target currency and choose how exchange rates are applied.

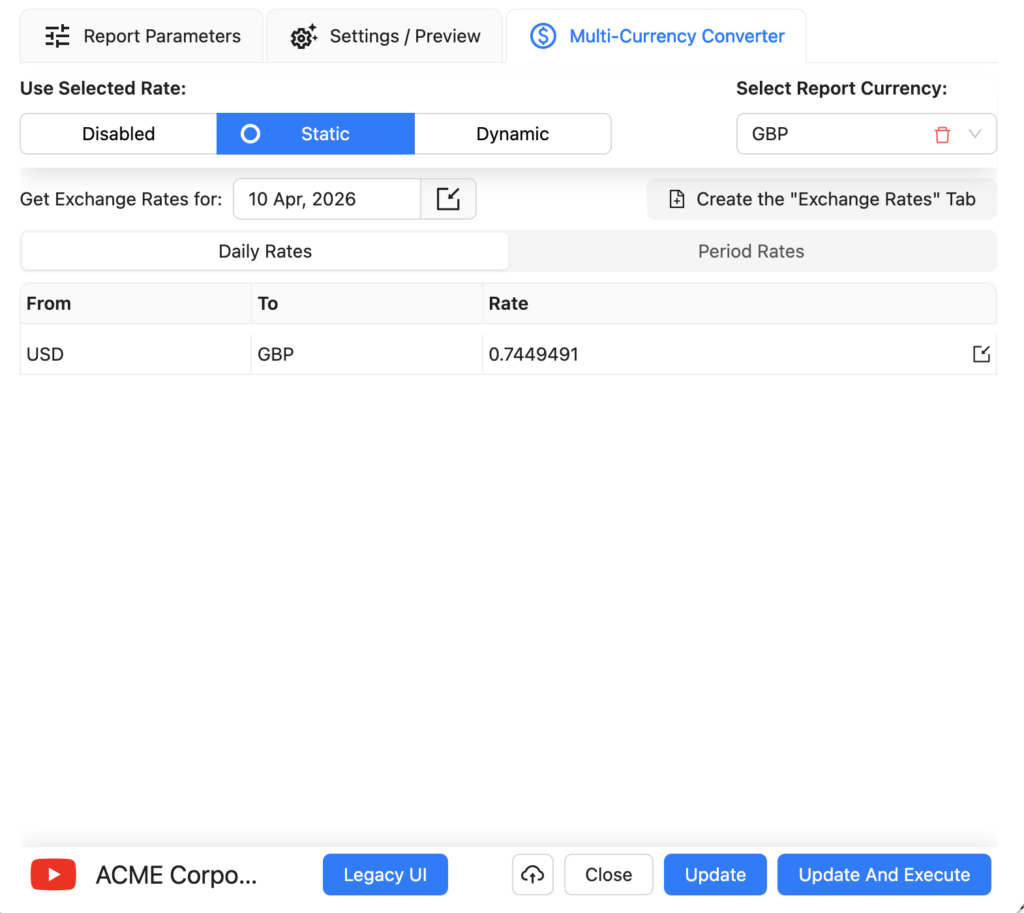
Three options are available:

Use Latest Rates

Select your target currency (e.g. EUR) and choose Use Latest Rates. Each time the report is refreshed, G-Accon will automatically fetch the most current exchange rate from its provider and apply it to all values in the report. No manual rate input is required.

Use Custom Rates

Choose Use Custom Rates to manually specify an exchange rate for a particular date. You can either enter the rate directly in the converter panel, or create a dedicated tab in your Google Sheet containing custom rates โ€” useful when you need to lock in a specific rate for audit or compliance purposes.

Use Custom Rates for Periods

For reports spanning multiple periods, Use Custom Rates for Periods lets you assign a different exchange rate to each period in the report. This is essential for accurate multi-period comparisons where exchange rates fluctuated significantly. Rates can be entered in the converter panel or managed in a dedicated Google Sheet tab.

Once your currency settings are configured, click Execute to generate the report. The converted figures will appear directly in your Google Sheet in the selected currency.


How to schedule automatic data refresh?

G-Accon's Automation feature lets you schedule your Aged Receivables Detail By Location report to refresh automatically. To set up an automated refresh:

  • Go to Extensions โ†’ G-Accon for QuickBooks โ†’ Automation โ†’ Create Workflow.
  • Add the Aged Receivables Detail By Location template to the workflow and set your preferred refresh schedule (e.g. daily, weekly, or monthly).
  • Optionally configure email notifications to be sent automatically when the refresh completes.
  • Multiple templates can be included in a single workflow, each with its own schedule.
  • For more details, refer to the "Create Workflow" documentation here.

How to modify your report and update your template?

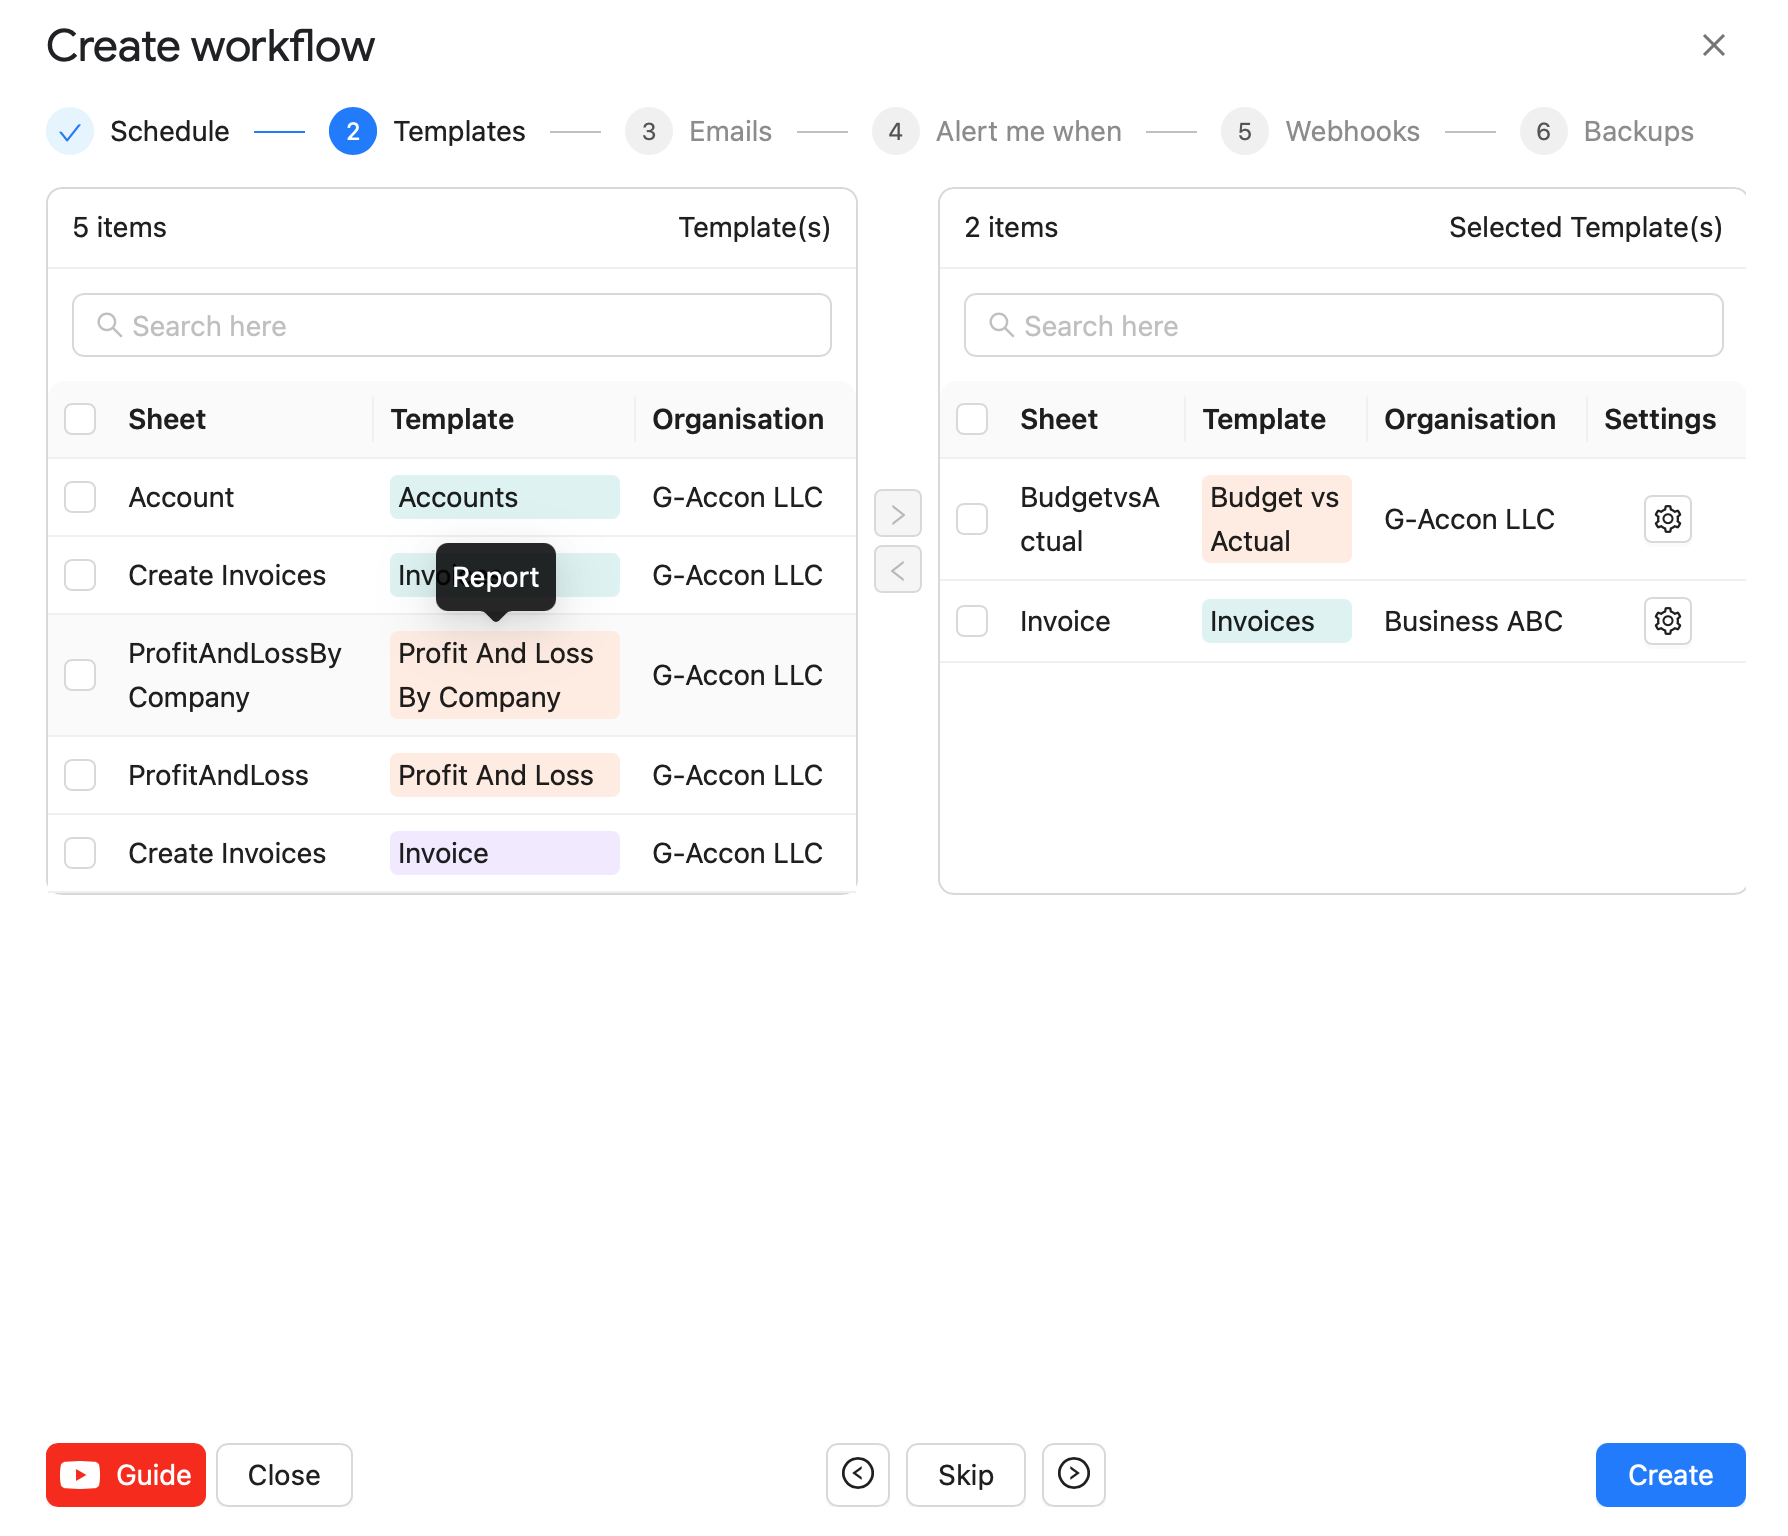
During the refresh process, if you need to modify your report, follow these steps:

  • Click on "Extensions" in the menu.
  • Choose "G-Accon for QuickBooks"
  • Select "Edit Templates for Current Sheet"
  • To Refresh and Modify a template there is no need to be signed in into the organization.

Select the template, make the necessary changes to it and Update the template or Update and Execute the new query.

ยฉ Copyright 2026 G-Accon
crossmenuchevron-down